Temperature is a finicky beast to tackle. It isn’t as simple as going to Reddit or some Facebook group and asking people what their settings are. You have to take into account geography, printer, brand of filament and to be honest lots of hobbyist report that even colors from the same brand can be different
Why is temperature such a hot topic, see what I did there?
Before you skip ahead to the stats for each filament which is probably why you are here anyway.
Extrusion Quality: The goldilocks of 3D printing. Too Cold and it won’t come out properly. Too hot, and it becomes spaghetti and oozes everywhere.
Layer Adhesion: A proper temperature will ensure that each layer sticks together creating a strong and durable print.
Surface Finish: Using the correct temperature gives a nice smooth finish and helps against seeing those print lines.
Prevents Clogs: Temperature Secrets: What I Learned the Hard Way in 3D Printing
Filament Types: A Personal Guide

PLA: The Forgiving Beginner’s Filament
I started with PLA, and honestly, it saved my sanity. At 190-210°C, it’s pretty chill. Pro tip? Always start at the lowest temperature on the spool and work your way up. We do this in 5 degree increments.
Personal Experience: My first successful print was a small rabbit figurine that came with the printer. I lucked out and got the temperature right first try.
Our Optimal Settings:
- Nozzle Temperature: 190°C – 210°C
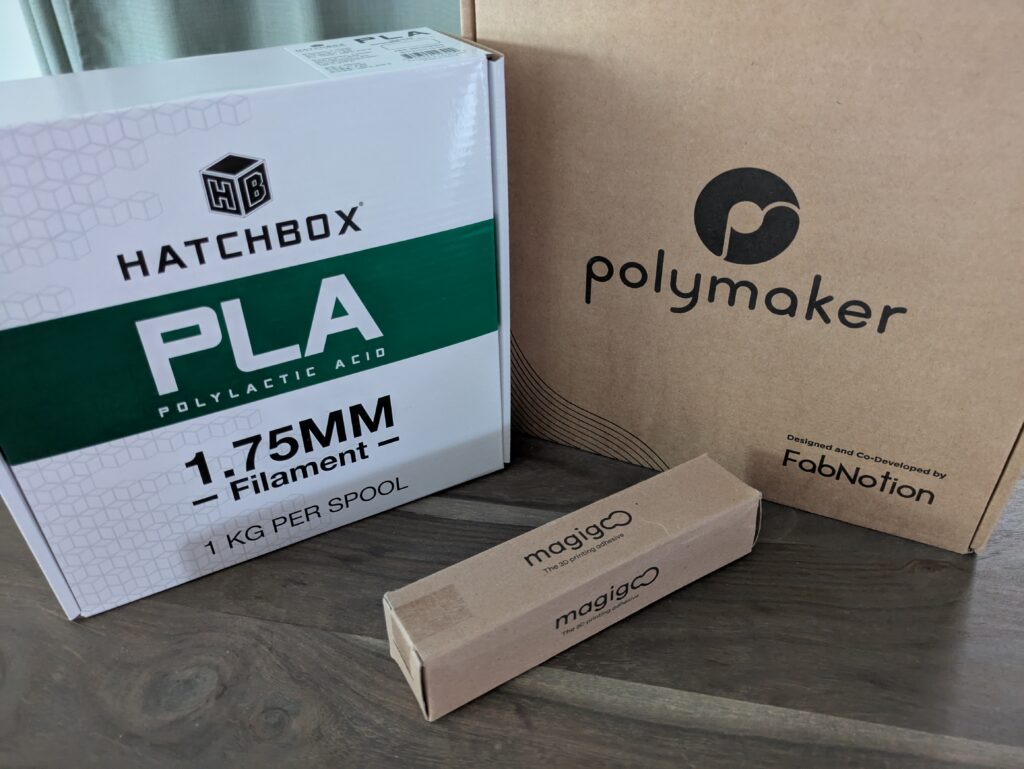
- Hatchbox White 200°C
- Kingron Highspeed Black 210°C
- Bed Temperature: 50°C – 60°C (optional, but we recommend)
- We run 60°C with an Ender enclosure.
Pros of PLA:
- Ease of Use: Minimal warping, prints at lower temperatures
- Biodegradable: Made from renewable resources like corn starch
- Low Odor: Produces minimal fumes during printing
- Excellent Detail: Great for intricate models and artistic prints
- Wide Color Range: Available in countless colors and specialty finishes
- Affordable: Generally less expensive than other filaments
- Print Speed: Can be printed relatively quickly
Cons of PLA:
- Low Heat Resistance: Begins to soften around 60°C-70°C
- Someone I know put a print in their bag with one of those grocery store bought hot chickens and melted the print.
- UV Sensitivity: Degrades when exposed to sunlight for prolonged periods
- Limited Functional Use: Not ideal for mechanical parts or outdoor applications
- Brittle: Can break under stress rather than bend
- Moisture Absorption: Performance degrades if stored improperly
PETG: When You Need Something Tougher
PETG was my next adventure. More challenging, but worth it for functional parts. Sweet spot? Around 230-240°C.
Warning: It will spaghetti like crazy if you’re not careful. Drop your temps before changing retraction.
Optimal Settings:
- Nozzle Temperature: 230°C – 240°C
- Bed Temperature: 70°C – 80°C
- We use PEI plates and use a glue based on many recommendations.
Pros of PETG:
- Durability: Stronger than PLA
- Better Heat Resistance: Resistant up to 80°C – 85°C
- Flexibility: Has some give compared to PLA.
- UV Resistance: Better for outdoor applications
- Food Safety: Many PETG filaments are FDA-approved for food contact
- Layer Adhesion: Excellent layer bonding creates strong parts
- Sometimes too strong and you may need to use glues.
Cons of PETG:
- Stringing Issues: More prone than PLA
- Stickiness: Can be very adhesive to print surfaces, sometimes too much.
- Moisture Sensitivity: Absorbs moisture from the air.
- Moderate Difficulty: Requires more fine-tuning than PLA
ABS: The Industrial Strength Nightmare
ABS (Acrylonitrile Butadiene Styrene) is not for the faint of heart. High temperatures, needs an enclosure, and produces fumes. You do not want to be breathing that stuff in.
Optimal Settings:
- Nozzle Temperature: 240°C – 250°C
- Bed Temperature: 95°C – 110°C
Pros of ABS:
- Heat Resistance: Resistant of temperatures up to 105°C!
- Impact Resistance: Very durable
- Machinability: Easy to post-process (sand, drill, tap threads)
- Acetone Smoothing: Can be vapor smoothed for professional finishes
- Long-term Durability: Resistant to wear and tear over time
- Cost-effective: Generally affordable for its performance characteristics
- Chemical Resistance: Holds up well against many chemicals
Cons of ABS:
- Difficult to Print: High warping tendency, requires enclosure
- Odor: Produces strong fumes that require good ventilation
- Environmental Impact: Not biodegradable, petroleum-based
- Bed Adhesion: Challenging first layer adhesion
- UV Sensitivity: Will degrade and become brittle with prolonged sun exposure
- Learning Curve: Not recommended for beginners
TPU/TPE Filament: For Flexible Prints
Temperature Range: 210°C – 240°C
TPU (Thermoplastic Polyurethane) and TPE (Thermoplastic Elastomer) are flexible filaments perfect for parts that need to bend or stretch.
Optimal Settings:
- Nozzle Temperature: 220°C – 230°C
- Bed Temperature: 40°C – 60°C
Temperature Tips:
- Start at 225°C for most TPU brands
- Print slowly (20-30mm/s) for best results regardless of temperature
- If experiencing stringing, lower temperature before modifying print speed
- Stiffer TPU variants (95A hardness) can be printed at the lower end of the range
- More flexible variants might need higher temperatures
Pros of TPU/TPE:
- Flexibility: Can bend, stretch, and compress without breaking.
- Wear Resistance: Excellent against wear and tear
- Impact Absorption: Ideal for protective cases and cushioning
- Chemical Resistance: Resists from oils and greases.
- Grip: Very grippy
- Vibration Dampening: Absorbs vibrations and noise
- Durability: Long lifespan even with repeated stress
Cons of TPU/TPE:
- Printing Difficulty: Challenging to extrude consistently due to flexibility
- Speed Limitations: Must be printed very slowly!
- Stringing Issues: Prone to oozing and spaghetti.
- Direct Drive Recommended: Difficult to use with Bowden extruders
- Limited Detail: Not ideal for intricate designs
- Limited Bridging: Poor performance on overhangs and bridges because of it’s flexibility.
Cost: More expensive than rigid filaments
Temperature Calibration Process
Follow these steps to find the perfect temperature for any filament:

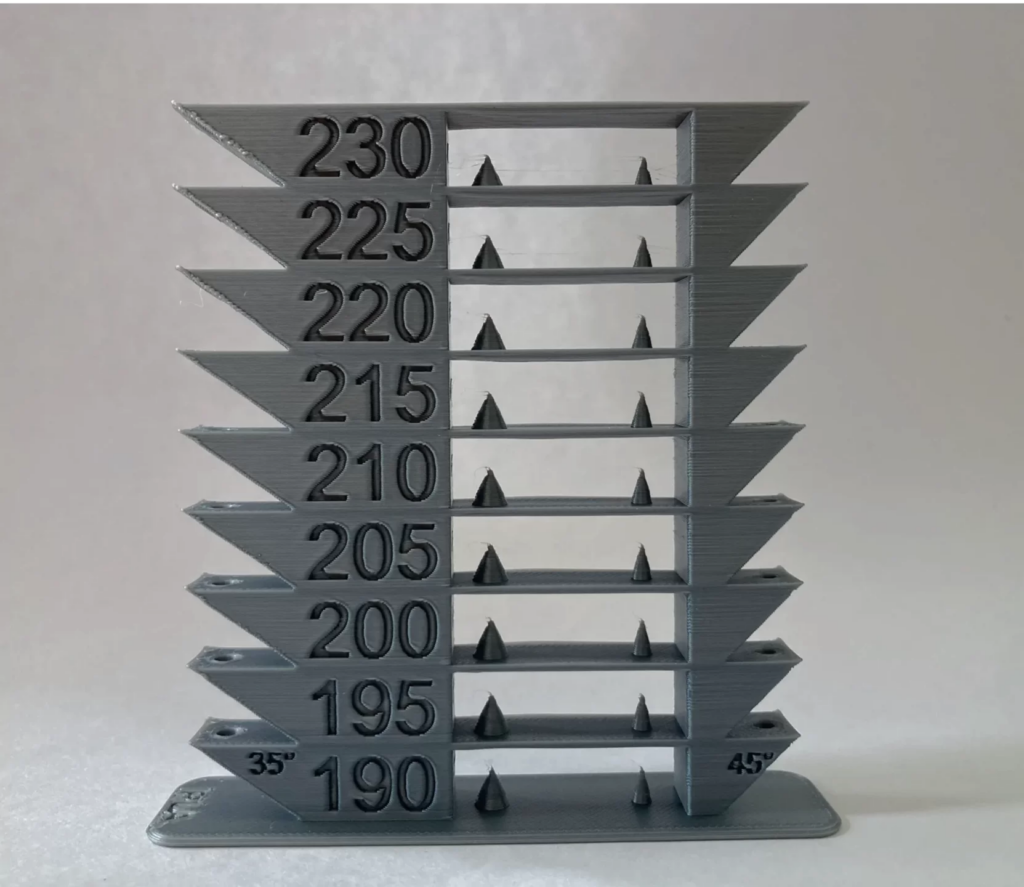
- Print a temperature tower: Many slicers have built-in temperature tower options, or you can download models from sites like Thingiverse
- Examine each temperature section for:
- Stringing
- Layer adhesion
- Surface quality
- Dimensional accuracy
- Select the temperature that provides the best balance of these factors
- Document your findings for future prints with the same filament
Conclusion
Mastering filament temperatures is one of the most important skills for successful 3D printing. Each filament type offers unique advantages and challenges, so consider your project requirements carefully when making your selection.
For beginners, starting with PLA is highly recommended due to its forgiving nature and easy printability. As you gain experience, experimenting with PETG provides a natural progression into more functional prints. Advanced filaments like ABS, offer specialized properties but require more equipment and expertise.
Remember that the perfect temperature can vary based on your specific printer, brand of filament, and even the color you’re using. Start with the recommended ranges, perform test prints, and make small adjustments until you achieve the perfect results. Document your successful settings for each filament type and brand for future reference.
With patience and practice, you’ll soon develop an intuitive understanding of how temperature affects your prints and when adjustments are needed. Happy printing!

