The Ultimate Guide to 3D Print Post-Processing: From Rough Prints to Professional Finishes
The journey of creating the perfect 3D print doesn’t end when your printer completes the final layer. Post-processing—the art of refining and finishing your prints—is what transforms a basic object with visible layer lines into a smooth, professional-looking piece. While there are many post-processing techniques available, sanding and painting remain two of the most effective and accessible methods for both beginners and experienced makers alike.
Why Post-Processing Matters
Even the most precisely calibrated 3D printers leave telltale signs of the manufacturing process: layer lines, small imperfections, and sometimes support marks. Post-processing not only improves aesthetics but can also enhance functionality by:
- Improving surface smoothness for moving parts
- Increasing durability through protective coatings
- Creating water-tight seals for functional prints
- Enabling customization through color and texture
Let’s explore how to master the fundamental techniques of sanding and painting to elevate your 3D prints from good to exceptional.
Mastering the Sanding Process
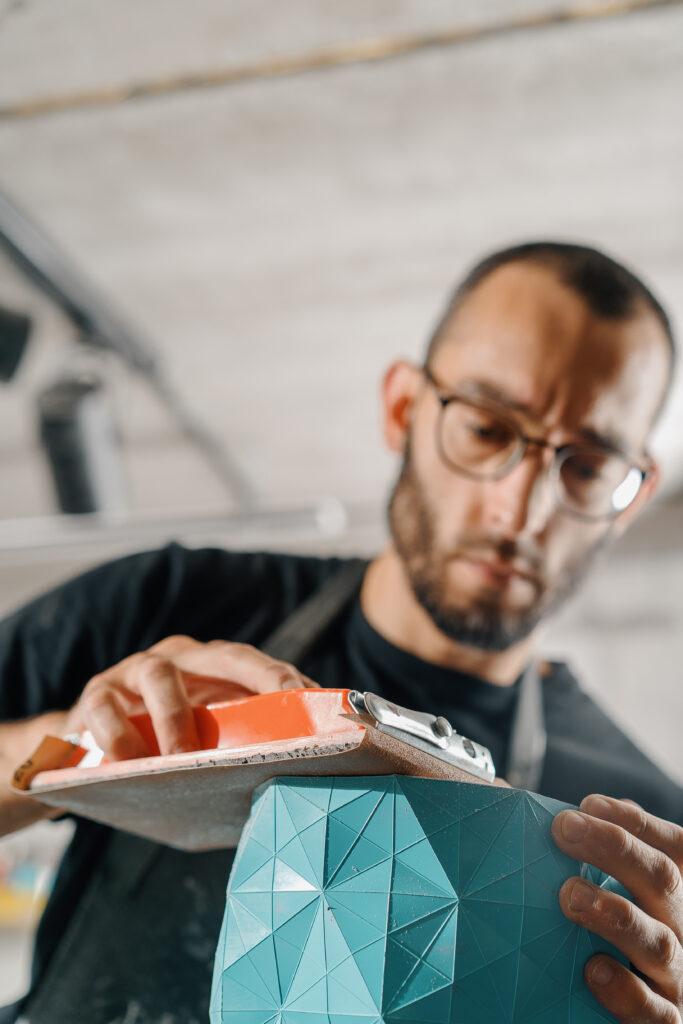
Sanding is the foundation of most post-processing workflows. This crucial step removes layer lines and imperfections, creating a smooth canvas for subsequent finishing techniques.
Choosing the Right Sandpaper
The sandpaper grit progression is critical to achieving optimal results:
- Coarse (80-120 grit): For removing major layer lines and support marks
- Medium (150-220 grit): For smoothing out the scratches left by coarse grit
- Fine (320-400 grit): For preparing the surface for primer or paint
- Ultra-fine (600-1000+ grit): For achieving a glass-like finish
Effective Sanding Techniques
- Start with the right grit – Begin with a coarse-grit sandpaper (150-200) to efficiently remove layer lines without being so aggressive that you damage the print.
- Progress methodically – Work your way through progressively finer grits (200 → 320 → 400 → 600 → 1000) for the smoothest finish. Never skip more than one grit level.
- Use the proper motion – Sand in circular motions to prevent creating directional scratches. Keep your pressure even and light.
- Wet sanding benefits – Use water when sanding resin prints not only to prevent toxic dust but also to:
- Lubricate the surface, reducing friction and extending sandpaper life
- Wash away particles that would otherwise clog the sandpaper
- Create a slurry that helps identify low spots and imperfections
- Check your progress – Periodically wipe the surface clean and examine it under good lighting to identify areas needing additional attention.
- Consider sanding aids – For intricate prints, use sanding sticks, needle files, or soft sanding sponges to reach difficult areas.
Material-Specific Sanding Tips
- PLA: Tends to melt at high temperatures, so sand gently to avoid heat buildup
- ABS: Responds well to sanding but produces potentially harmful dust (wear a mask)
- PETG: Can be challenging to sand due to its flexibility; use light pressure
- Resin: Always wet-sand to prevent toxic dust; tends to sand more easily than filament prints
The Art of Painting 3D Prints
Painting is where your 3D print truly comes to life, adding color, depth, and realism to your creation.
Preparation Is Key
- Thorough cleaning – After sanding, clean your print with isopropyl alcohol or soap and water to remove all dust and oils.
- Primer application – Apply a primer to help the paint adhere better to the plastic surface. Primer also:
- Reveals imperfections you may have missed during sanding
- Creates a uniform base color for consistent paint appearance
- Improves paint adhesion and longevity
- Choose the right primer – Use a plastic-specific primer or filler primer that can help smooth out remaining minor imperfections.
Painting Techniques for Professional Results
- Select appropriate paints – Use acrylic paints or spray paints for smooth application. Each has its advantages:
- Spray paints: Provide even coverage but require good ventilation
- Acrylic paints: Offer precise control and easy blending for detailed work
- Airbrush: Combines evenness of spray paint with control of hand painting
- Apply multiple light coats instead of one heavy coat to prevent drips and pooling. Allow each coat to dry completely before applying the next.
- Consider advanced techniques:
- Dry brushing to highlight raised details
- Washes to create depth in recessed areas
- Masking for clean multi-color designs
- Weathering effects for realistic aging
- Finishing touches – Apply a clear sealant to protect the paint job from scratches, handling, and UV damage. Options include:
- Matte finish for a natural look
- Satin finish for a subtle sheen
- Gloss finish for a wet or shiny appearance
Paint Curing
Many beginners underestimate the importance of proper curing time. Allow your painted print to cure for at least 24-48 hours before handling extensively or applying additional finishes.
Beyond Basic Techniques
While sanding and painting form the foundation of post-processing, consider these additional techniques to further enhance your prints:
- Filling – Use spot putty or wood filler to address deeper imperfections
- Vapor smoothing – For ABS or ASA prints, acetone vapor can create glass-smooth surfaces
- Polishing – After ultra-fine sanding, compounds like Tamiya polishing compound can create a mirror finish
- Heat treatment – Careful application of heat can strengthen prints and reduce visible layer lines
Conclusion
With the right post-processing techniques, even a basic print can look like a professionally manufactured product. Sanding and painting might seem time-consuming, but the dramatic improvement in quality is well worth the effort, especially for display pieces, prototypes, or functional items that will see regular use.
Remember that post-processing is as much an art as a science—experimentation is key to finding the techniques that work best for your specific prints and desired outcomes. Start with simple projects to build your skills, and soon you’ll be turning even the most basic prints into showstopping pieces that no one would guess came from a 3D printer.
As you gain confidence, develop your own workflow combining these techniques to achieve consistently outstanding results that will impress even the most discerning eyes.
