The Complete Guide to the 3D Printing Workflow: From Digital File to Finished Object
Introduction to the 3D Printing Process
From Digital File to Finished Object
Congratulations. If you are reading this, you hopefully have purchased a 3D printer and want to understand the workflow from digital design to finished object. We will walk you through each step of the 3D printing process, helping beginners navigate the journey and achieve satisfying results.
The workflow has several phases, each requiring specific knowledge and techniques. By better understanding the process from start to finish, you’ll be better equipped to troubleshoot problems, optimize your prints, and unlock your 3D printer’s full potential.
Essential Equipment and Workspace Setup
Setting up an appropriate workspace and coming prepared with the necessary tools before diving into the workflow will significantly improve your 3D printing experience.

Basic Workspace Requirements
- Stable Surface: A solid table or workbench you want to limit the transmission of vibrations
- Adequate ventilation: This must be done for resin and some of the more difficult filaments.
- Power Outlets: With surge protection, extra kudos to you if it is a battery backup.
- Storage Space: For materials, tools, and finished prints
- Internet Connection: For downloading files and accessing resources
Essential Tools and Supplies

For FDM Printing:
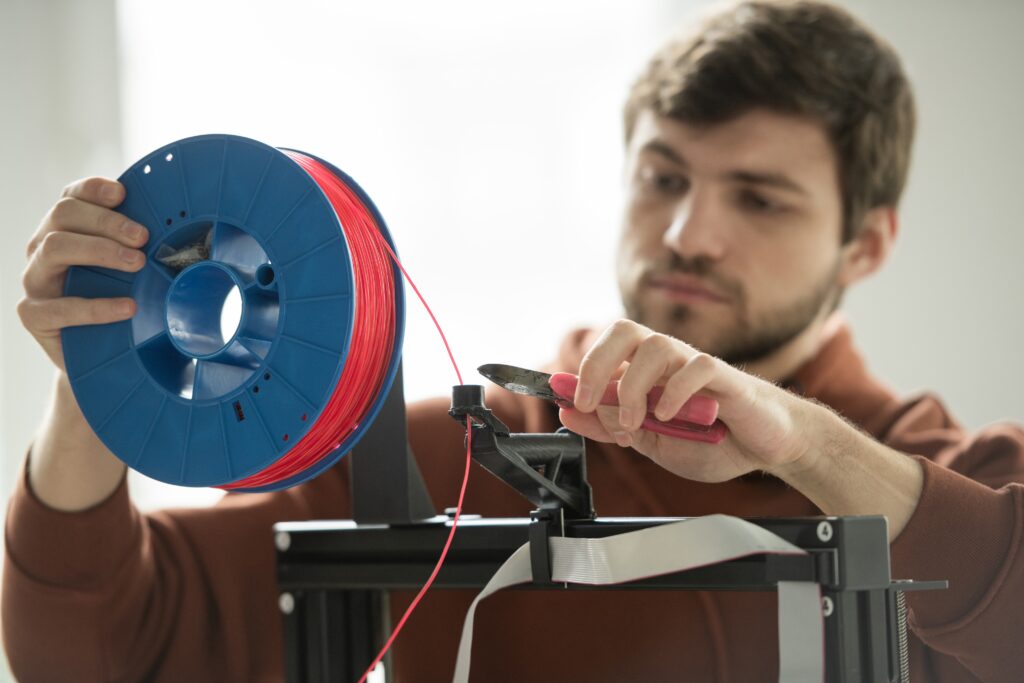
- Filament: Start with PLA for the most effortless printing
- Spatula or Scraper: Easier print removal from the bed.
- Digital Calipers: For precise measurements
- Flush Cutters: For trimming filament and supports
- Files: For smoothing those hard to reach places.
- Assorted Sandpaper: Various grits for post-processing
- Extra Build Surface: Replacement build plates or adhesion solutions
- Essential Toolkit: Including hex keys and screwdrivers for printer maintenance
For Resin Printing:
- Resin: UV-sensitive photopolymer resin
- Nitrile Gloves: For handling uncured resin
- Isopropyl Alcohol (IPA): For cleaning prints
- Wash Container: For submerging prints in IPA
- UV Curing Station: Or a UV light source for final curing
- Filters: For straining resin when returning it to storage bottles
- Paper Towels and Cleanup Supplies: For addressing spills
Finding and Preparing 3D Models
The first step in the 3D printing workflow is acquiring a digital model to print. You have several options:
Downloading Pre-designed Models
Numerous online repositories offer free and paid 3D models:
- Thingiverse: Largest collection of free 3D printable objects
- Printables: Growing community with high-quality models and contests
- Cults3D: Mix of free and premium models
- MyMiniFactory: Curated designs with verification of printability
- Thangs: Search engine that aggregates models from multiple sites
When downloading models, look for:
- Designs specifically made for 3D printing
- Comments and makes from other users confirming printability
- Recommended settings by the maker.
- Design files in STL, OBJ, or 3MF formats
Creating Your Own Designs
For custom projects, you can design your own models using:
- TinkerCAD: Browser-based CAD software ideal for beginners
- Fusion 360: Powerful CAD software with free hobbyist license
- Blender: Open-source software excellent for organic shapes
- OpenSCAD: Programming-based approach to 3D modeling
- Meshmixer: Great for modifying and repairing existing models
I’ve personally used Fusion 360 and Blender for generating models.
Preparing Models for Printing
Before slicing, models often need preparation:
- Checking for Manifold Geometry: Ensuring the model is “watertight” with no holes
- Optimizing Polygon Count: Balancing detail versus file size
- Orienting for Printability: Positioning the model to minimize overhangs
- Scaling: Adjusting the model to the desired size
- Repairing: Fixing any mesh issues using software like Meshmixer or 3D Builder
Pro tip: Slicers like Cura will throw errors if the meshes aren’t correct, requiring back-and-forth between software.
The Slicing Process: Converting Models to Print Instructions
Slicing software is the critical bridge between 3D models and printer instructions. This process involves:
Selecting Slicing Software
Popular options include:
- Cura: User-friendly with profiles for many printers
- PrusaSlicer: Powerful features with excellent default settings
- Simplify3D: Premium option with advanced capabilities
- Chitubox: Specialized for resin printing
Pro tip: Some printers come with recommended slicing software.
Critical Slicing Parameters
Understanding these key settings will dramatically affect print quality:
Layer Height
- Determines resolution and print time
- Typical range: 0.1mm-0.3mm for FDM, 0.025mm-0.05mm for resin
- Lower values = finer detail but longer print times
Infill Percentage
- Controls interior density of the print
- 10-20% for decorative items
- 40-60% for functional parts
- 80-100% for high-strength applications
Print Speed
- Affects quality and print time
- Slower speeds generally produce better quality
- Typical range: 40-80mm/s for FDM printing
- Pro tip: Check your printer for their recommendations.
Temperature Settings (FDM)
- Nozzle temperature varies by material (180-220°C for PLA, 230-250°C for PETG)
- Bed temperature affects adhesion (50-60°C for PLA, 70-90°C for PETG)
Support Structures
- Generated structures that hold up overhangs
- Can be optimized for easier removal
- Critical for complex geometries
Wall Thickness
- Determines the strength of outer shells
- Typically 2-3 perimeters (0.8-1.2mm)
Previewing and Exporting
After configuring settings:
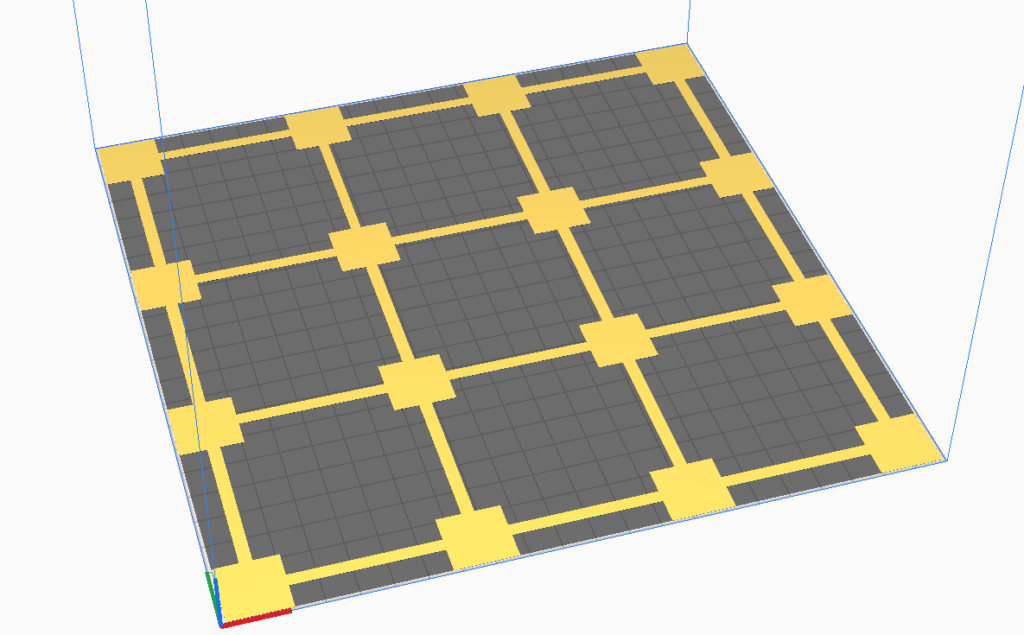
- Preview the sliced model layer by layer
- Check for any issues with supports or geometry
- Export the G-code (FDM) or sliced file (resin)
- Transfer to your printer via SD card, USB, or network connection
- We used to do the SD card method, but on the Ender we currently use Octoprint via USB.
The Printing Process
With your file prepared and transferred, it’s time to start printing.
Preparing the Printer
For FDM Printing:
- Bed Leveling: Ensuring proper nozzle height across the entire build plate
- Check our article on bed-leveling
- Loading Filament: Feeding material into the extruder
- Check our article on loading filament
- Applying Bed Adhesion: Using glue stick, hairspray, or specialized solutions if needed
- Pre-heating: Bringing the nozzle and bed to proper temperatures
For Resin Printing:
- Securing FEP Film: Checking for damage and proper installation
- Filling Resin Vat: Adding enough material for the print
- Leveling Build Plate: Ensuring proper alignment with the FEP film
- Setting Exposure Times: Adjusting based on resin type and layer height
Monitoring the Print
Don’t leave a new print completely unattended:
- Watch First Layers: The most critical for successful adhesion
- Check Periodically: Especially for longer prints
- Listen for Unusual Sounds: Can indicate mechanical issues
- Monitor Material Supply: Ensure enough filament or resin
Post-Processing Techniques
After printing completes, most objects benefit from post-processing:
For FDM Prints:
- Support Removal: Using pliers or flush cutters to remove support structures
- Sanding: Progressing through finer grits (150, 220, 400, 600+)
- Gap Filling: Using putty or resin to fill layer lines
- Surface Treatment: Applying primers, paints, or clear coats
- Heat Treatment: Using heat guns or ovens to increase strength (for certain materials)
For Resin Prints:
- Careful Removal: Detaching the print from the build plate
- Support Removal: Before or after washing depending on design
- Washing: Submerging in isopropyl alcohol to remove uncured resin
- Curing: Using UV light to fully harden the print
- Sanding and Finishing: Similar to FDM, but often requires less work
Troubleshooting Common Issues
Even experienced makers encounter printing problems. Understanding common issues helps with quick resolution:
FDM Printing Problems:
- Bed Adhesion Problems:
- Stringing: Increase retraction settings and optimize travel movements
- Layer Shifting:
- Check belt tension
- reduce speed
- ensure stable printer location
- Under/Over Extrusion:
- Calibrate flow rate
- check for clogs
- verify filament diameter
- Warping:
Resin Printing Problems:
- Failed Adhesion: Increase bottom layer exposure time, re-level build plate
- Supports Failing: Increase support density and contact size
- Resin Trapping: Adjust orientation to allow drainage
- Cloudy Prints: Improve the washing process, use fresh IPA
- Incomplete Curing: Ensure adequate UV exposure time
Advancing Your Skills
As you gain experience, consider these techniques to enhance your 3D printing capabilities:
- Custom Material Profiles: Use the softwares you have to save fine-tuned profiles.
- Pro tip: This makes it easier when switching between materials it will have your settings already setup.
- Hardware Modifications: Upgrading components for better performance
- Multi-Material Printing: Mixing TPU with PETG or knowing that PETG and PLA repel eachother so you could use that to your advantage.
- Design for Printability: Keep things like angle limitations and color swapping in mind when designing.
- Finishing Techniques: Developing advanced post-processing skills
Conclusion: The Iterative Process
When 3D printing you have to have the mindset of prototyping with it being an iterative process. Each print teaches valuable lessons that inform future projects. Experiment with patience and be methodical with your problem sovling. Your prints will get consistently better.. Remember that even “failed” prints provide learning opportunities.

